Straw Bale Construction

Straw bale building is an alternative construction technique that uses a sustainable material for the construction of very well insulated, energy-efficient building.  Straw bale buildings are constructed using agricultural waste that has been compressed into bales.  The most commonly used size of bales are 36″x18″x14″ and are stacked in a brick pattern to create strength.  The straw bales can be stacked to produce a wall that is either 18″ thick (straw is horizontal) or 14″ wall (straw is vertical).   The straw bales can be used as the main structural support for the building (usually limited to 1 story) or can be used as infill in an open frame, made of either standard framing materials or by timber frame techniques.  After the straw bales are stacked, they are coated on both sides of the wall with a plaster.  The plaster can vary from a portland cement plaster to a natural clay plaster, all of which have their own advantages and disadvantages.   The combination of the straw bales and the plaster creates a site built Structured Insulated Panel (SIP), in which the combination and attachement of a number of relatively weak materials results in a very strong structural wall.

The advantages of building with straw bales are numerous.  The biggest advantage is that it is using a waste product for the majority of the structure, reducing the need to cut down trees to create the building, and not using as much fossil fuel as would be used for Insulated Concrete Forms (ICF).  Another advantage is the insulating properties of the straw, with a straw bale wall have an R value between 28 and 36, depending on the orientation of the bales.  In a load-bearing straw bale wall there are also no thermal bridges.  Another advantage of the technique is that it results in better air quality in the building due to the walls being able to pass moisture vapour through them.  Tests have shown that a straw bale wall coated in plaster has a high fire resistance and after exposure to a flame, the bales suffered little to no damage.  Also, due to the plaster coating, the bales are not prone to insect or rodent infestations.  The plaster, being a continuous seal, also reduces the amount of air infiltration through the walls and also acts as a thermal mass, storing heat during the day and releasing it at night.  Straw bale building is also a very straightforward process and is very accessible to Do It Yourselfers, allowing people to build their own homes and save a considerable amount of money.

The main disadvantage of straw bale building is that, being an organic material, it is susceptible to moisture damage and mould.  If water gets into the wall, mould can grow and damage the structure.  Also being fairly unfamiliar to some building inspectors, there may be some resistance to allowing a straw bale structure to be built.  With time, however, this is becoming less of a problem as inspectors become more familiar with the technique.

There are a number of resources for more information about straw bale building, including a number of websites, books, and short courses.  If an individual is not interested in doing the work themselves, there are also a number of contractors specializing in straw bale building techniques.
Double Stud-Wall Construction

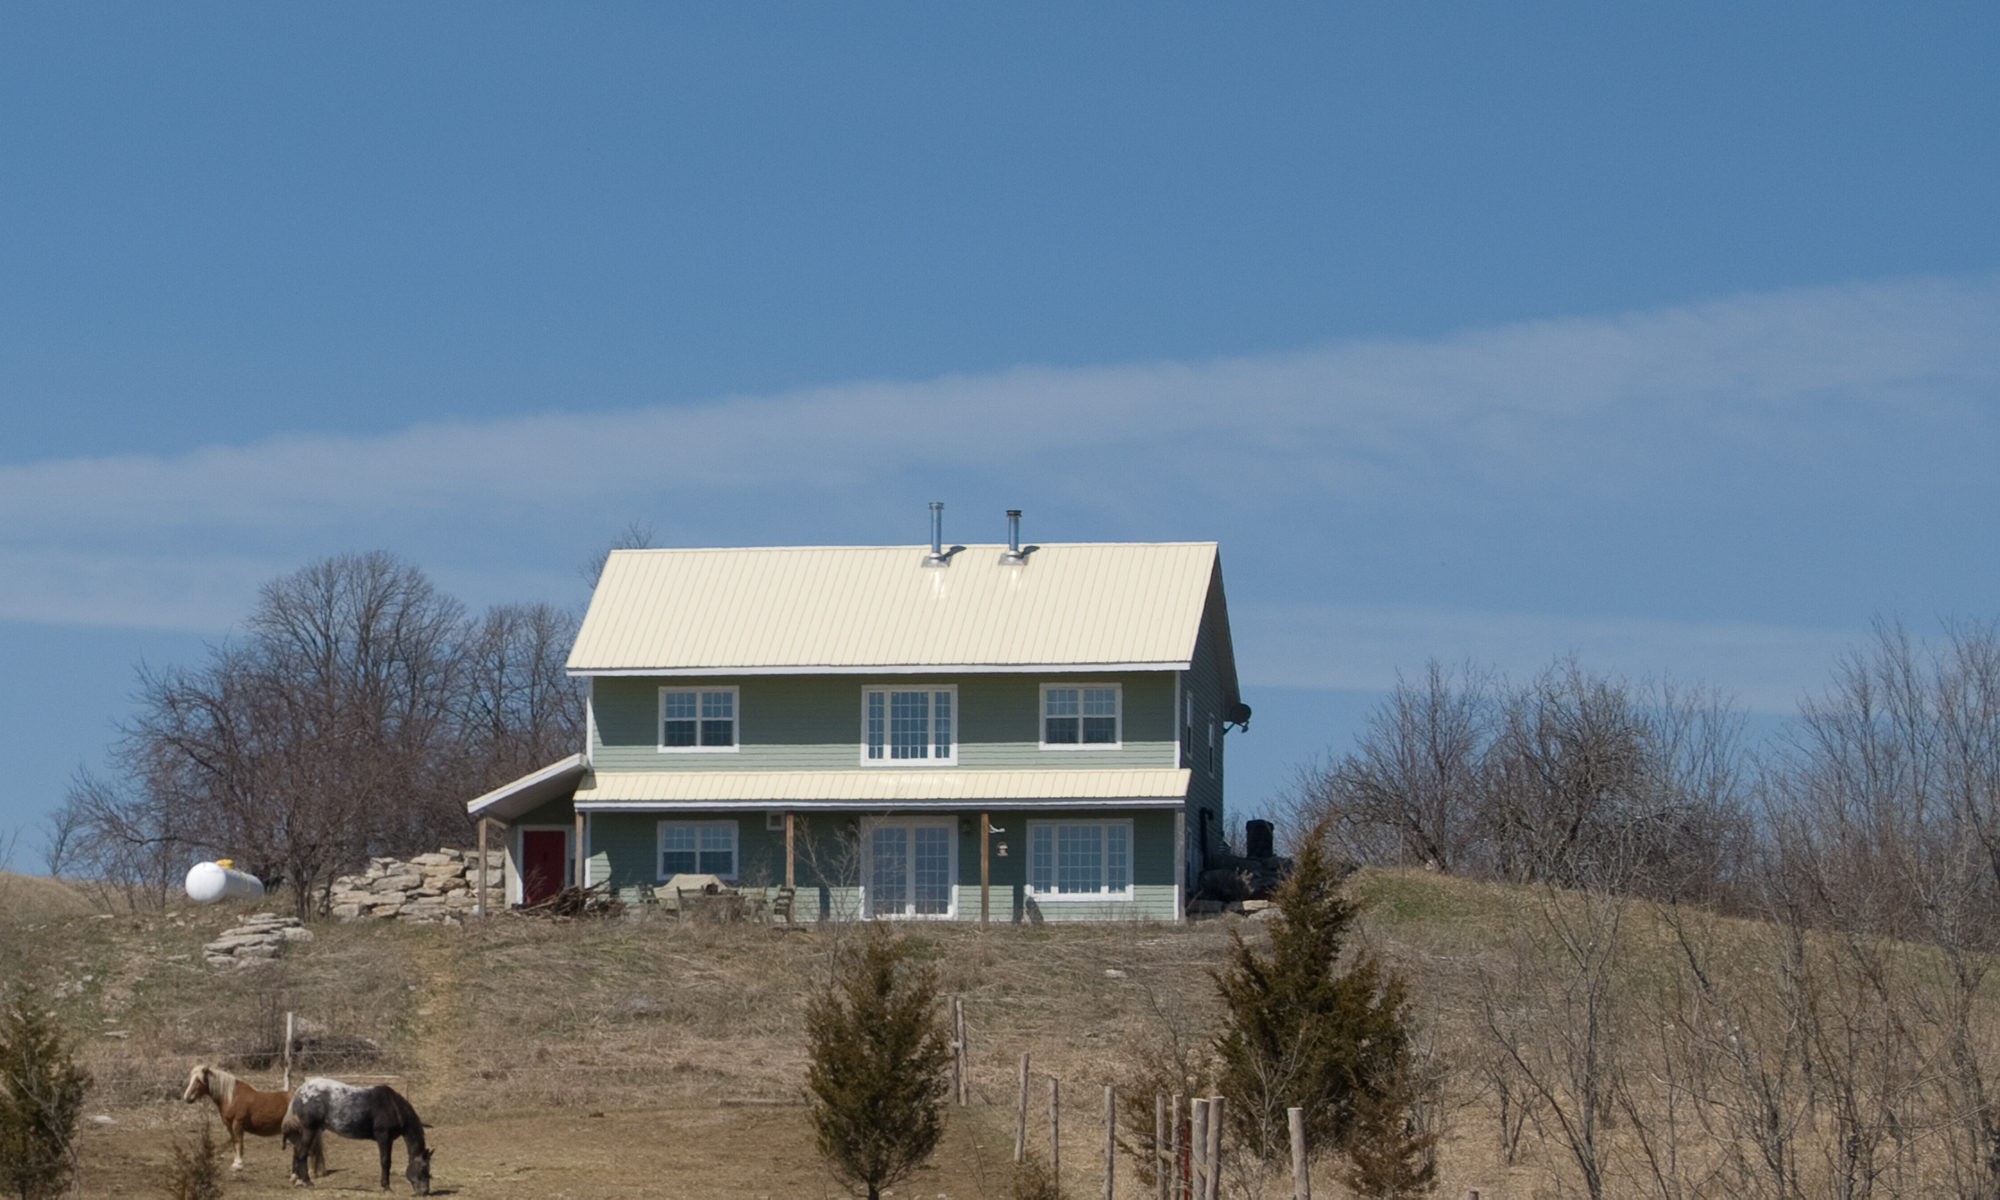
One alternative to standard frame construction is a double stud-wall.  This is constructed by having a 2×4 stud-wall, then a gap, and then a second stud-wall, either 2×4 or 2×3.  The walls are then filled with insulation.  The two walls are built so that the studs are offset, so there is the maximum amount of insulation at all points.  In my house I used two 2×4 stud-walls separated by a 3 1/2″ gap in which I put one layer of Roxul vertically, the another layer in the gap horizontally, and the final layer vertically again.

The advantages of the double stud-wall, beyond the obvious extra insulation, is that there are few, if any, thermal bridges.  A thermal bridge is where a place within a wall with a lower insulating value, such as a stud, extends from the inside of the wall to the exterior.  In the typical 2×6 stud-wall, the 2×6’s create a thermal bridge, because the wood has an R value of R1/inch for R6 versus R20 where there is insulation.  This thermal bridging creates spots within the wall that will conduct heat much faster than the rest of the wall causing cold spots.  This is part of the reason to go to a 24″ spacing of the 2×6 studs if possible, as it will increase the overall R value of the wall.  Another advantage is that the amount of insulation is doubled with only using 25% more lumber.  The 2×4 studs can also come from smaller trees than the 2x6s.

There are a couple ways you can construct the double stud-wall as explained in the Canadian Home Builders Association’s Builders Manual.  One is to build the outside wall in line with the outside of the foundation, which has the advantage of being easier to build, but will reduce the floorspace in the building.  The other is to cantilever the outside wall from the inside wall, which is built on the edge of the foundation.  This will maintain the floorspace but will be more difficult to construct.  In either method of construction, the vapour barrier can be placed on the outside surface of the interior wall which allows you to run all the electrical and plumbing lines inside the vapour barrier and maintain a continuous vapour barrier.  If using this method, the vapor barrier should be protected by a thin board (1/4″ osb or masonite board would work) to avoid accidentally puncturing it.  The vapour barrier can be placed within the wall because it is still inside the part of the wall where the dew point will be reached, so no moisture will condense inside the vapour barrier.  In my house I just put the vapour barrier on the inside of the wall and taped and caulked all the holes in order to simplify the construction.  If Roxul is used, a solid top plate is not required, as the Roxul provides the fire barrier.

In my house I put up the first wall, then installed the trusses on top of those and then built and lifted the second wall inside the house, leaving a gap between the walls for insulation.  I did this as I did not have a lot of help for lifting the finished walls.  If you had a crew, you could build the walls complete on the floor and them lift them into place.  Using a double stud-wall is a good method of getting a lot of insulation into a wall if you are doing your own construction, as it is simple, the materials are relatively inexpensive, but it is labour intensive.  If you were having the house built, it would probably be more cost effective to consider other methods such as Structured Insulated Panels (SIPs).